Home Office Ideas for a Small Singapore Flat
Home office ideas for an HDB or BTO flat: real desk, chair, light, power and storage measurements you can check, room by room, from nothing.
Starting with an empty corner of a flat is the easy part. The hard part is knowing what a workspace actually needs before you spend a cent, so the room works on day one instead of growing a second monitor, a tangle of cables and a chair that never quite fits.
This is a plan for building one from nothing in a small HDB or BTO flat. Most home office ideas online show you a finished look and leave you to guess the measurements; this one gives you the numbers and the sources behind them, so you can copy a layout and check it against your own walls.

What a home office actually needs
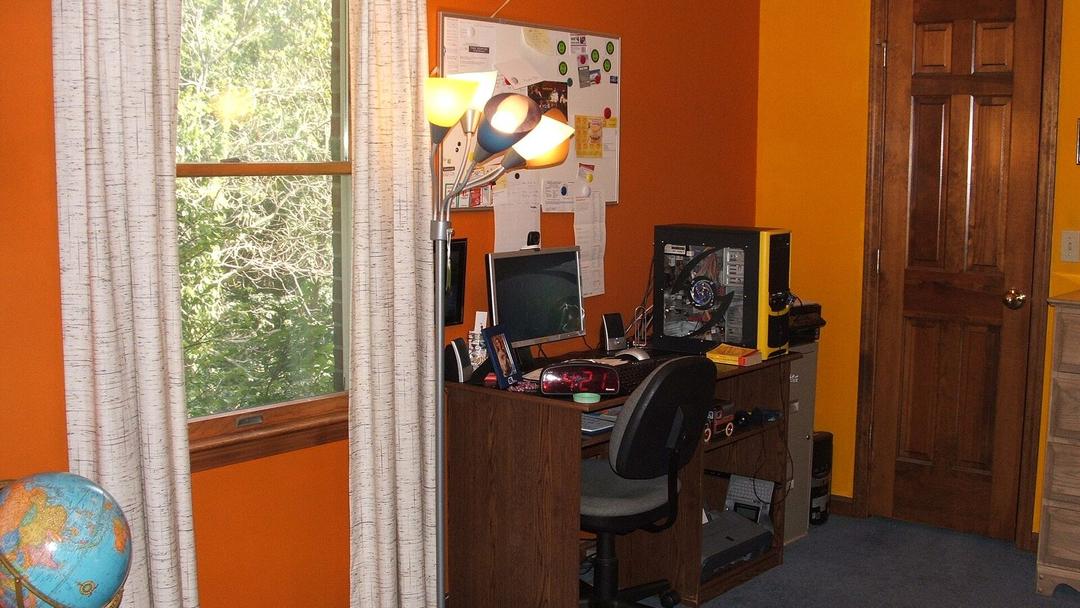
Strip away the styling and a workspace is five things: a desk, a chair, light, power and somewhere to put things. Everything else is preference.
Here is what each one costs you in floor space. A desk is the big commitment: a surface 120 cm wide by 60 cm deep covers a laptop, a monitor and room to write, and that 60 cm is measured out from the wall. A chair needs its own depth again behind the desk so you can push back and stand up, so plan the desk depth plus roughly a seated person's length before the next wall or walkway. Light can sit on the desk or clamp to its edge and costs almost no floor. Power is about where the socket already is, not new space. Storage is the one that is easy to forget until the desk is buried, and it is the easiest to put on a wall rather than the floor.
Get those five right and the room is done. The rest of this guide is how to place them.
Measure the room before you buy anything
Before you look at a single product, measure the space the desk will live in. Mark the wall width where the desk goes, the depth you can give up without blocking a door or a wardrobe, and the path you walk to reach the chair.
The cheapest mistake to avoid is a desk that technically fits but leaves no room to pull the chair out. Tape the full footprint of the desk onto the floor with masking tape, sit a dining chair in it, and walk past. If the chair cannot slide back far enough to stand, or you have to turn sideways to get by, the desk is too deep for that spot. A 60 cm deep top is a sensible ceiling in most HDB rooms for this reason, and we explain why that size fits in our note on the 120 by 60 desk.
Three desk layouts for a small room
These are layouts you can copy, each with what it asks of the room and who it suits.
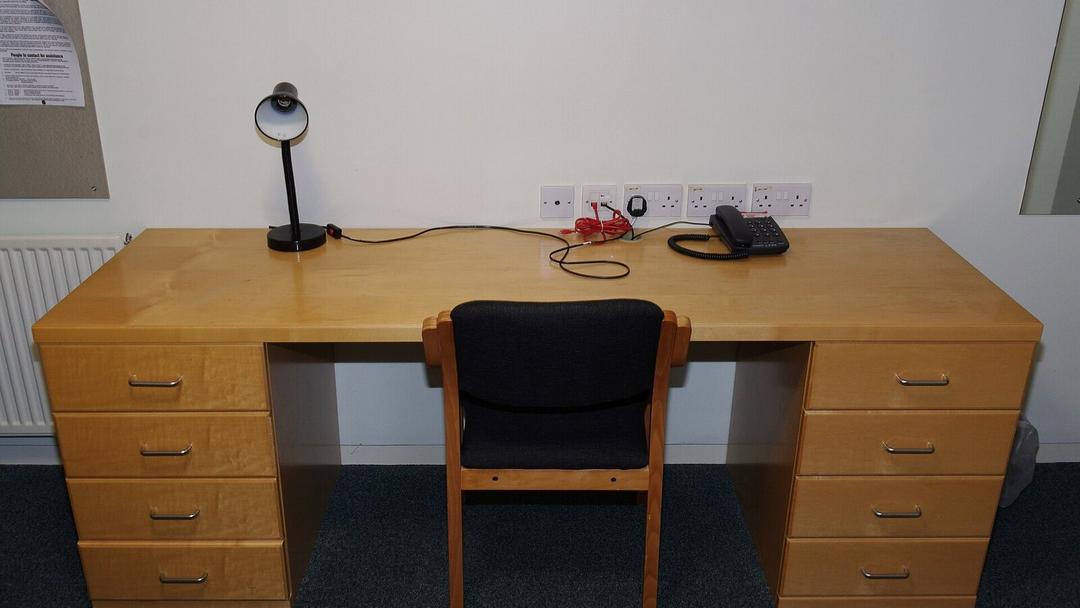

Against the long wall. The desk sits flat against a wall, the full 120 cm of width used, 60 cm of depth given up. This is the simplest and steadiest option, and it suits a spare room or a study where the desk can have a wall to itself. You face the wall, so hang a shelf or a board above it for anything you would otherwise stack on the desk.
In the corner. Pushing one short end of the desk into a corner lets you tuck a return, a drawer unit or a plant on the inner side, and it keeps the chair out of the main walking line. It suits a bedroom where the desk shares space with a bed, because the corner is usually the one part of the room nothing else wants.
Facing the window. The desk sits side-on or square to a window so daylight falls across it rather than behind the screen. It suits anyone who works long days and wants to look up at something further than a wall. The trade is glare at certain hours, which a blind or a side-on angle fixes. For where each thing lands on the top once the desk is placed, see where everything goes on a desk.
The chair, and getting your heights right
The chair matters more than the desk for how a day feels, and the two have to be set together. A seat you can raise and lower, with back support, is worth more than any finish. Our guide to choosing an ergonomic chair covers what to look for.
Heights are not a matter of taste; they come from measurable guidance. CCOHS describes a neutral seated posture as elbows at about 90 degrees and close to the body, wrists straight, and hips, knees and ankles at 90 degrees or a little more, with feet flat on the floor or on a footrest. OSHA's workstation guidance places the top of the screen at or just below eye level, 50 to 100 cm from your eyes, with the centre of the screen about 15 to 20 degrees below a level gaze.
If your chair is at the right height but your feet dangle, add a footrest rather than drop the seat. If the desk is fixed and too high, that is exactly the case a sit-stand desk solves, because the surface comes to you instead. Work through your own numbers with our desk height calculator, and for a full walkthrough in a flat, read how to set up a standing desk in a BTO.
Power and cables, kept safe
A desk draws more than people expect: a monitor, a laptop charger, a lamp, a phone and often a router or a dock. Count the plugs you need before you buy, and put one good power strip on the desk rather than chaining several together.
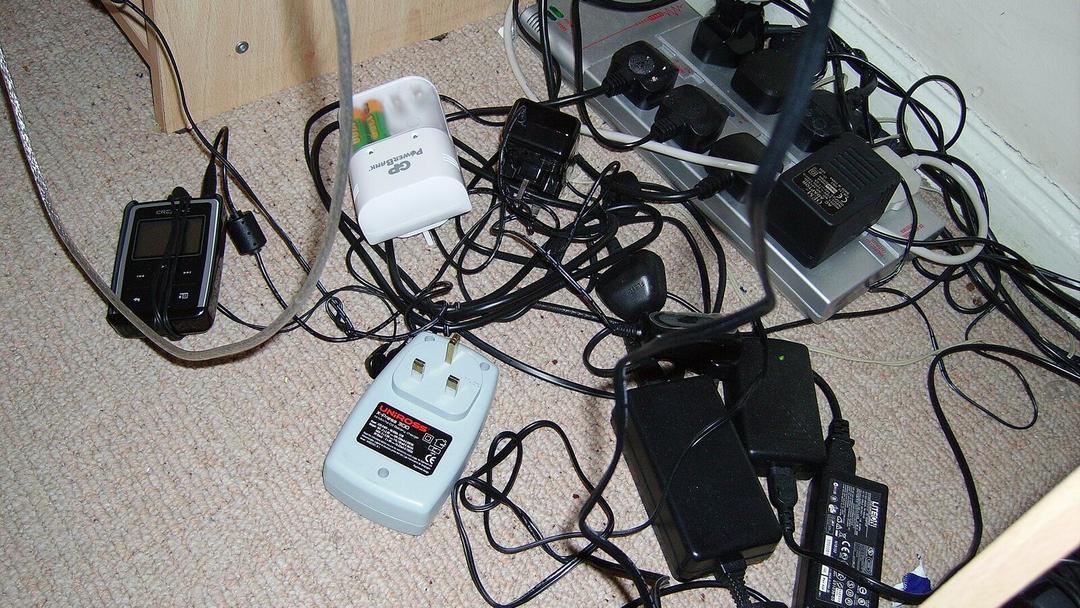

The picture above is what to avoid. The SCDF advises never to overload electrical outlets, to switch off appliances when they are not in use, to replace frayed or cracked cords, and to use plugs that carry the SAFETY Mark. Run the cables along one leg and under the desk, held with a clip or a tie, so nothing crosses the floor where a chair wheel or a foot can catch it. If the only socket is across the room, that decides where the desk goes as surely as the wall does.
Light and storage
Ceiling light alone leaves a shadow over your own hands at a desk. A task light that sits on the desk or clamps to the edge puts light where you read and type, and it costs no floor space.
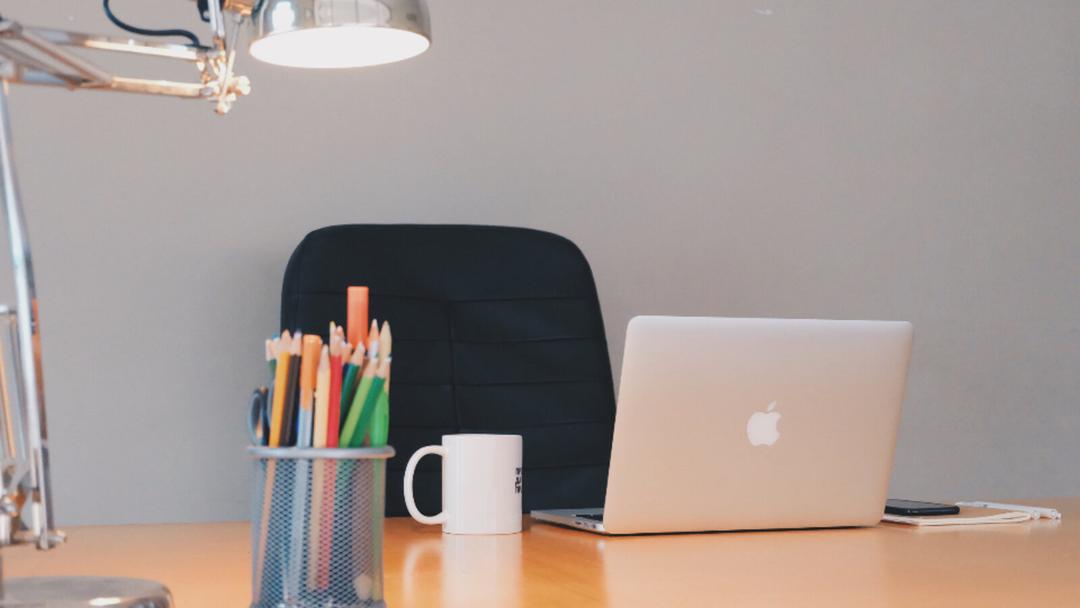
Position the lamp to the side, not behind the screen, so it lights the page and not the display. Our study lamp guide covers brightness, colour and glare in detail.
For storage, go up the wall before you reach for the floor. One shelf or a slim wall cabinet above the desk holds the books, cables and odds that otherwise pile on the surface, and it leaves the floor clear for the chair. A single tall cabinet, with its door opening away from the chair, is usually enough for a home office that is not a stock room.
Setting up from nothing, in order
Build it in the order the room needs, not the order the shop lists. Measure first and tape the footprint. Place the desk against the wall, into a corner or facing the window, whichever your measurements allow. Set the chair and the screen to the heights above. Sort power and cables before the first work call, not after. Add light and wall storage last, once you know where the shadows and the clutter actually fall.
For the desk itself, the Vival Desk is built for exactly this room: a 120 by 60 cm top that fits the footprints above, a reinforced dual-motor frame that travels from 72 to 120 cm so the surface meets the heights rather than the other way round, three memory presets, and a walnut-finish laminate (a printed surface layer bonded onto the board) over a core of MDF (medium-density fibreboard, a board pressed from wood fibre), which keeps the look honest. It holds up to 100 kg, carries a 1-year warranty on the motor system and comes with free delivery across Singapore. S$289 with code VIVAL60 (list S$349) It ships flat-packed, and most people assemble it in about 30 to 45 minutes, about as simple as IKEA furniture. The desk began as an in-house fix for our own technicians' back strain before it became a product we sell, which is why it is sized for a real flat rather than a showroom.
Start with the five things, measure before you buy, and a home office built from nothing ends up doing more than a room twice its size that was filled by guesswork.